New to KubeVault? Please start here.
Mount AWS IAM Secrets into Kubernetes pod using CSI Driver
Before you Begin
At first, you need to have a Kubernetes cluster, and the kubectl command-line tool must be configured to communicate with your cluster. If you do not already have a cluster, you can create one by using Minikube.
To keep things isolated, this tutorial uses a separate namespace called demo throughout this tutorial.
$ kubectl create ns demo
namespace/demo created
Note: YAML files used in this tutorial stored in docs/examples/csi-driver/aws folder in github repository KubeVault/docs
Configure AWS
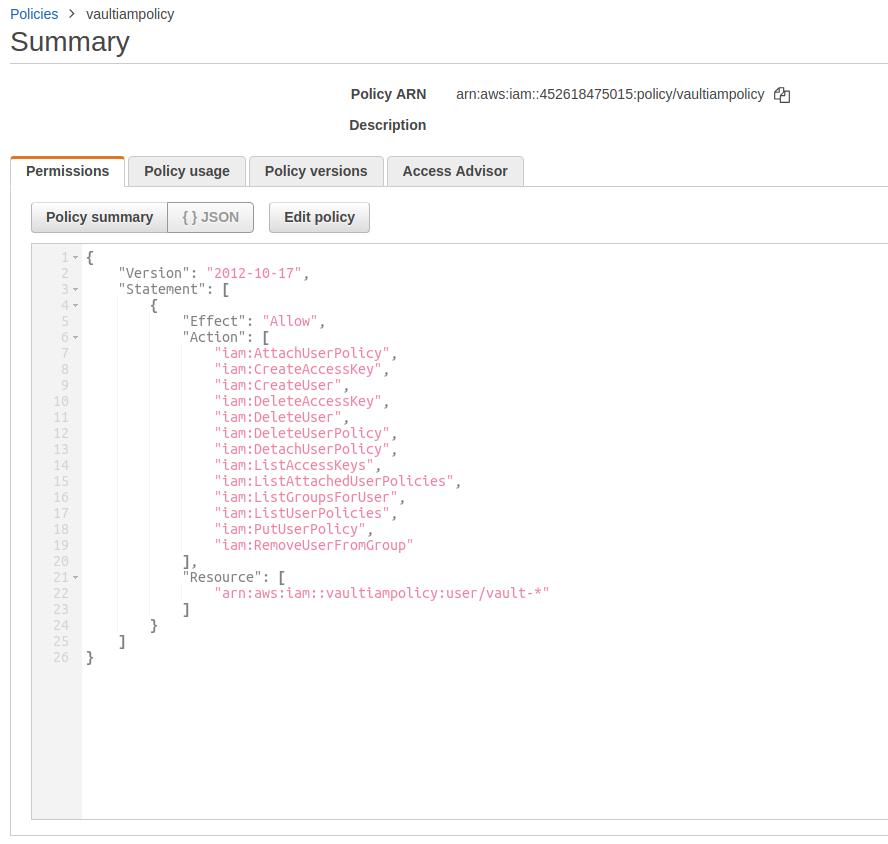
Create IAM policy on AWS with following and copy the value of policy ARN:
{
  "Version": "2012-10-17",
  "Statement": [
    {
      "Effect": "Allow",
      "Action": [
        "iam:AttachUserPolicy",
        "iam:CreateAccessKey",
        "iam:CreateUser",
        "iam:DeleteAccessKey",
        "iam:DeleteUser",
        "iam:DeleteUserPolicy",
        "iam:DetachUserPolicy",
        "iam:ListAccessKeys",
        "iam:ListAttachedUserPolicies",
        "iam:ListGroupsForUser",
        "iam:ListUserPolicies",
        "iam:PutUserPolicy",
        "iam:RemoveUserFromGroup"
      ],
      "Resource": [
        "arn:aws:iam::ACCOUNT-ID-WITHOUT-HYPHENS:user/vault-*"
      ]
    }
  ]
}
Configure Vault
The following steps are required to retrieve AWS IAM secrets using Vault server into a Kubernetes pod.
- Vault server: used to provision and manager AWS IAM credentials
- Appbinding: required to connect
CSI driverwith Vault server - Role: using this role
CSI drivercan access credentials from Vault server
There are two ways to configure Vault server. You can use either use Vault Operator or use vault cli to manually configure a Vault server.
Using Vault Operator
Follow this tutorial to manage AWS IAM secrets with Vault operator. After successful configuration you should have following resources present in your cluster.
- AppBinding: An appbinding with name
vault-appindemonamespace - Role: A role named
k8s.-.demo.demo-rolewhich have access to read database credential
Using Vault CLI
You can use Vault cli to manually configure an existing Vault server. The Vault server may be running inside a Kubernetes cluster or running outside a Kubernetes cluster. If you don’t have a Vault server, you can deploy one by running the following command:
```console
$ kubectl apply -f https://raw.githubusercontent.com/kubevault/docs/master/docs/examples/csi-driver/vault-install.yaml
service/vault created
statefulset.apps/vault created
```
To use secret from AWS secret engine, you have to do following things.
-
Enable
AWSEngine: To enableAWSsecret engine run the following command.$ vault secrets enable aws Success! Enabled the aws secrets engine at: aws/ -
Create Engine Policy: To read secret from engine, we need to create a policy with
readcapability. Create apolicy.hclfile and write the following content:# capability of get secret path "aws/creds/*" { capabilities = ["read"] }Write this policy into vault naming
test-policywith following command:$ vault policy write test-policy policy.hcl Success! Uploaded policy: test-policy -
Crete AWS config: To communicate with AWS for generating IAM credentials, Vault needs to configure credentials. Run:
$ vault write aws/config/root \ access_key=AKIAJWVN5Z4FOFT7NLNA \ secret_key=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 \ region=us-east-1 Success! Data written to: aws/config/root -
Configure a Vault Role: We need to configure a vault role that maps to a set of permissions in AWS and an AWS credential type. When users generate credentials, they are generated against this role,
$ vault write aws/roles/k8s.-.demo.demo-role \
  arn=arn:aws:iam::452618475015:policy/vaultiampolicy \ # In AWS configuration ACCOUNT-ID-WITHOUT-HYPHENS = vaultiampolicy
  credential_type=iam_user \
  policy_document=-<<EOF
{
  "Version": "2012-10-17",
  "Statement": [
    {
      "Effect": "Allow",
      "Action": "ec2:*",
      "Resource": "*"
    }
  ]
}
EOF
Success! Data written to: aws/roles/k8s.-.demo.demo-role
Here,
k8s.-.demo.demo-rolewill be treated as secret name on storage class.
Configure Cluster
-
Create Service Account: Create
service.yamlfile with following content:apiVersion: rbac.authorization.k8s.io/v1beta1 kind: ClusterRoleBinding metadata: name: role-awscreds-binding namespace: demo roleRef: apiGroup: rbac.authorization.k8s.io kind: ClusterRole name: system:auth-delegator subjects: - kind: ServiceAccount name: aws-vault namespace: demo --- apiVersion: v1 kind: ServiceAccount metadata: name: aws-vault namespace: demoAfter that, run
kubectl apply -f service.yamlto create a service account. -
Enable Kubernetes Auth: To enable Kubernetes auth back-end, we need to extract the token reviewer JWT, Kubernetes CA certificate and Kubernetes host information.
export VAULT_SA_NAME=$(kubectl get sa aws-vault -n demo -o jsonpath="{.secrets[*]['name']}")

export SA_JWT_TOKEN=$(kubectl get secret $VAULT_SA_NAME -n demo -o jsonpath="{.data.token}" | base64 --decode; echo)

export SA_CA_CRT=$(kubectl get secret $VAULT_SA_NAME -n demo -o jsonpath="{.data['ca\.crt']}" | base64 --decode; echo)

export K8S_HOST=<host-ip>
export K8s_PORT=6443
Now, we can enable the Kubernetes authentication back-end and create a Vault named role that is attached to this service account. Run:
$ vault auth enable kubernetes
Success! Enabled Kubernetes auth method at: kubernetes/

$ vault write auth/kubernetes/config \
    token_reviewer_jwt="$SA_JWT_TOKEN" \
    kubernetes_host="https://$K8S_HOST:$K8s_PORT" \
    kubernetes_ca_cert="$SA_CA_CRT"
Success! Data written to: auth/kubernetes/config

$ vault write auth/kubernetes/role/aws-cred-role \
    bound_service_account_names=aws-vault \
    bound_service_account_namespaces=demo \
    policies=test-policy \
    ttl=24h
Success! Data written to: auth/kubernetes/role/aws-cred-role
Here,
aws-cred-roleis the name of the role. -
Create AppBinding: To connect CSI driver with Vault, we need to create an
AppBinding. First we need to make sure, ifAppBindingCRD is installed in your cluster by running:$ kubectl get crd -l app=catalog NAME CREATED AT appbindings.appcatalog.appscode.com 2018-12-12T06:09:34ZIf you don’t see that CRD, you can register it via the following command:
kubectl apply -f https://raw.githubusercontent.com/kmodules/custom-resources/master/api/crds/appbinding.yamlIf AppBinding CRD is installed, Create AppBinding with the following data:
apiVersion: appcatalog.appscode.com/v1alpha1
kind: AppBinding
metadata:
  name: vault-app
  namespace: demo
spec:
clientConfig:
  url: http://165.227.190.238:30001 # Replace this with Vault URL
parameters:
  apiVersion: "kubevault.com/v1alpha1"
  kind: "VaultServerConfiguration"
  usePodServiceAccountForCSIDriver: true
  authPath: "kubernetes"
  policyControllerRole: aws-cred-role # we created this in previous step
Mount secrets into a Kubernetes pod
After configuring Vault server, now we have vault-app AppBinding in demo namespace, k8s.-.demo.demo-role access role which have access into database path.
So, we can create StorageClass now.
Create StorageClass: Create storage-class.yaml file with following content, then run kubectl apply -f storage-class.yaml
 kind: StorageClass
 apiVersion: storage.k8s.io/v1
 metadata:
   name: vault-aws-storage
   namespace: demo
 annotations:
   storageclass.kubernetes.io/is-default-class: "false"
 provisioner: secrets.csi.kubevault.com
 parameters:
   ref: demo/vault-app # namespace/AppBinding, we created this in previous step
   engine: AWS # vault engine name
   role: k8s.-.demo.demo-role # role name on vault which you want get access
   path: aws # specify the secret engine path, default is aws
Test & Verify
-
Create PVC: Create a
PersistantVolumeClaimwith following data. This makes sure a volume will be created and provisioned on your behalf.apiVersion: v1 kind: PersistentVolumeClaim metadata: name: csi-pvc namespace: demo spec: accessModes: - ReadWriteOnce resources: requests: storage: 1Gi storageClassName: vault-aws-storage volumeMode: DirectoryOrCreate -
Create Pod: Now we can create a Pod which refers to this volume. When the Pod is created, the volume will be attached, formatted and mounted to the specific container.
  apiVersion: v1
  kind: Pod
  metadata:
    name: mypod
    namespace: demo
  spec:
    containers:
    - name: mypod
      image: busybox
      command:
        - sleep
        - "3600"
      volumeMounts:
      - name: my-vault-volume
        mountPath: "/etc/foo"
        readOnly: true
    serviceAccountName: aws-vault
    volumes:
      - name: my-vault-volume
        persistentVolumeClaim:
          claimName: csi-pvc
Check if the Pod is running successfully, by running:
$kubectl describe pods/my-pod -
Verify Secret: If the Pod is running successfully, then check inside the app container by running
$ kubectl exec -ti mypod /bin/sh -n demo
/ # ls /etc/foo
access_key  secret_key
/ # cat /etc/foo/access_key
AKIAIH4QGZQOCMIWYLDA
So, we can see that the aws IAM credentials
access_keyandsecret_keyare mounted into the pod
Cleaning up
To cleanup the Kubernetes resources created by this tutorial, run:
$ kubectl delete ns demo
namespace "demo" deleted